So many people have asked me how the finished colors and patterns are achieved on my finished bronzes. It is one of the funnest parts of the process since I, as the artist, participate actively in this final stage! Let me show you how we finished “Rolling Bliss” (#3 of 20) since I took lots of pictures! Here is a close up of the finished product. This is my absolute favorite patina yet!

Detail of “Rolling Bliss” (#3 of 20) 6″ x 18″ x 10″ Bronze Sculpture
Now, how did we do that? Once the bronze has been cast and fabrication (if cast in parts) is complete, the foundry sandblasts the sculpture to achieve an even surface to apply the finish or “patina” to. This is what greeted me when I arrived at the foundry on “finish” day!
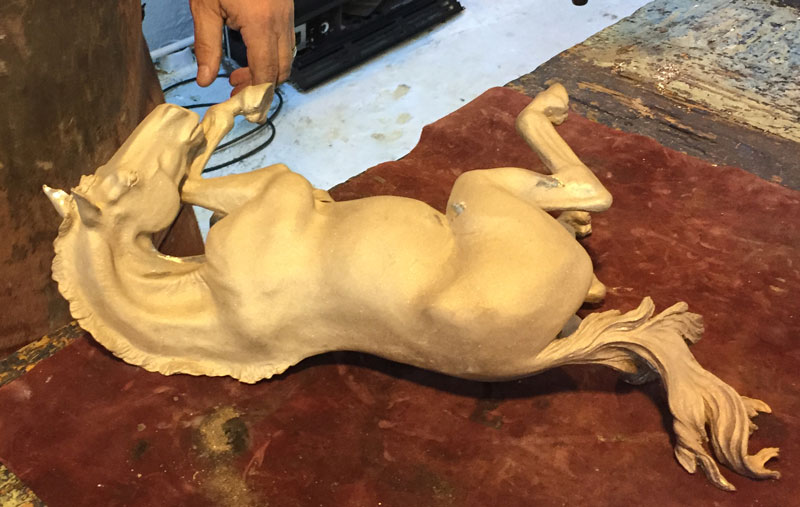
Assembled, sandblasted and ready for patina application.
The Patina is generally achieved using various chemicals and heat via a blow torch to achieve the desired effects and fuse the finish with the metal. In some cases some paint may be used to achieve certain effects. For “Rolling Bliss” #3, we started with Potash and turned the entire sculpture very dark for the base color.
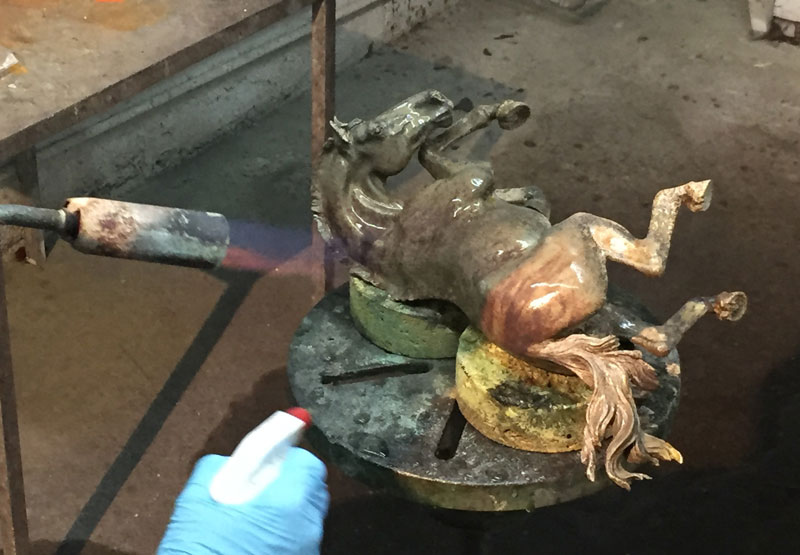
Initial application of potash… continue applying until…
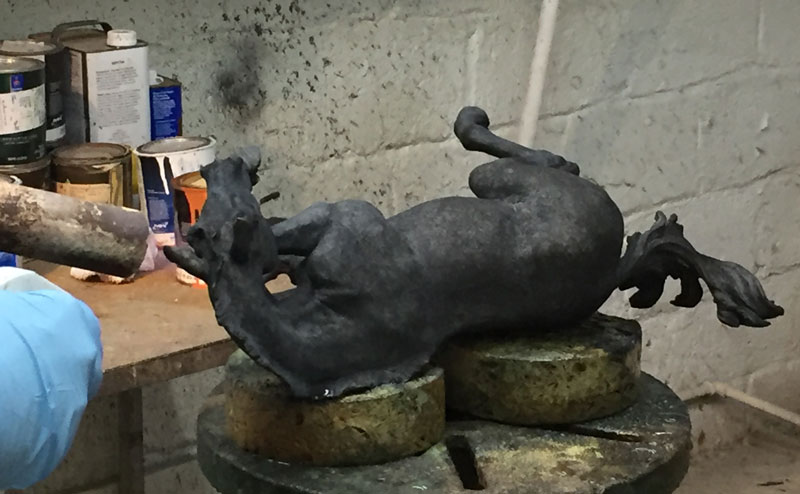
Completed potash application turns the sculpture a warm black.
Then we introduced Silver Nitrate on top of the Potash to lighten in layers and achieve the mottled effect.
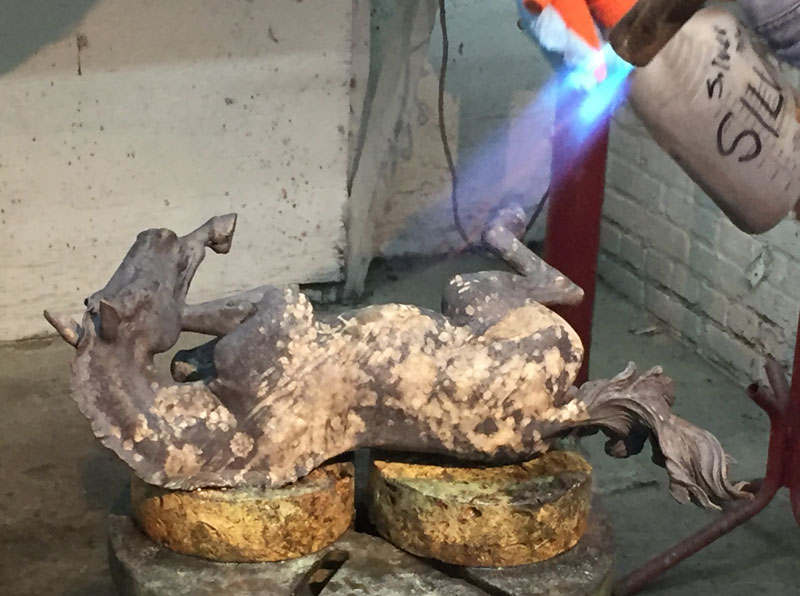
Oh My! Initial application of silver nitrate on top of the potash layer…

Completed silver nitrate application… GORGEOUS!
I fine tuned the “darks” of the eyes, muzzle, and transition areas from grey to dark on the legs with diluted black acrylic paint… The heated metal absorbs the paint and it also fuses with the metal.
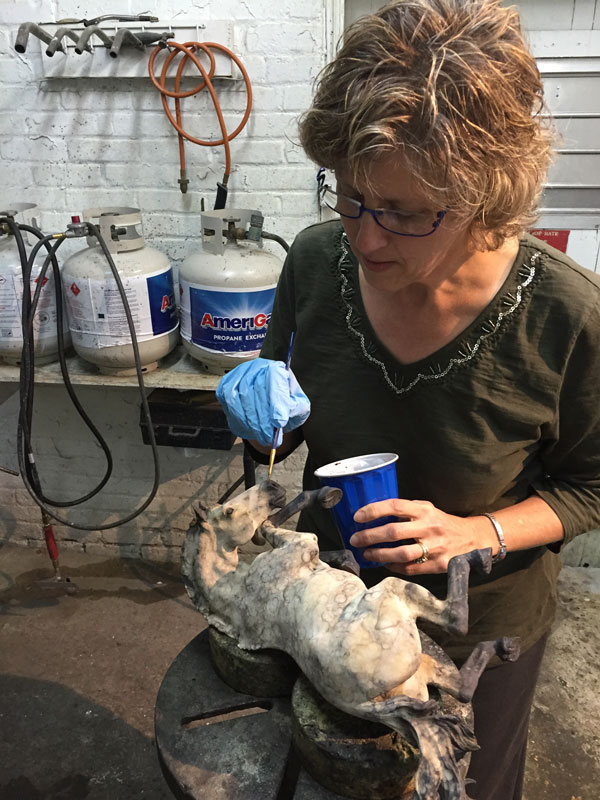
Refining the dark details and transition areas.
Once satisfied with the effects, the sculpture is sealed with clear enamel and finished with wax polish (they can be displayed outside safely!).

Sealing with enamel.
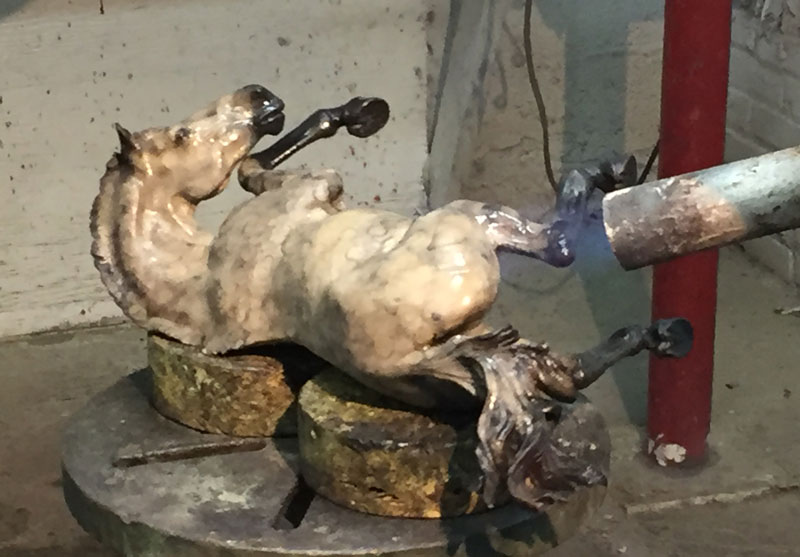
Final step of applying wax to protect from the elements.
Then the sculpture is mounted to the base. Did you know these sculptures are hollow? The foundry fabricated the cross brace bars which they then tapped a threaded hole for the mounting bolts to attach to.

It is hollow! Prepping for mounting.
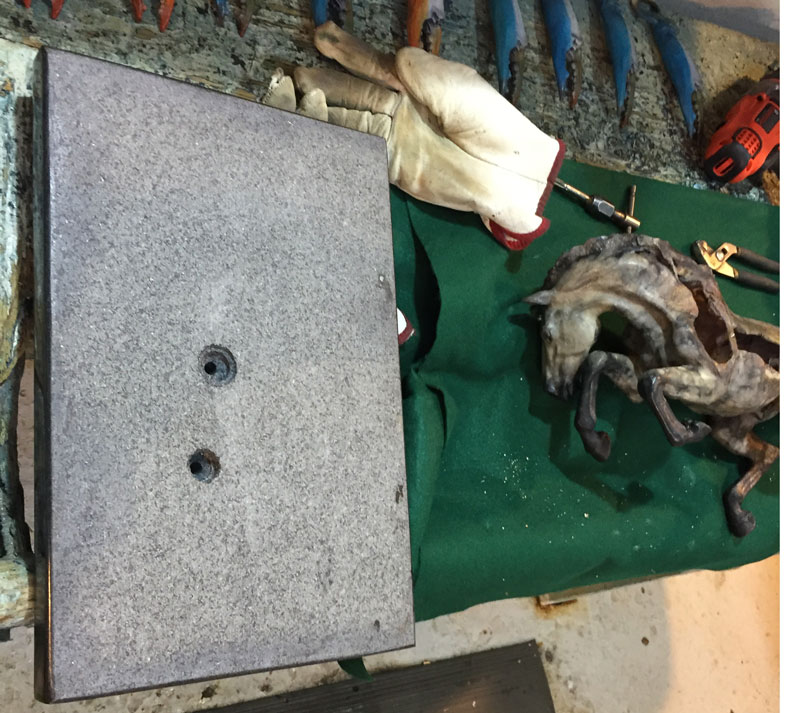
Granite base is carefully drilled with counter sunk holes. Once sculpture is mounted, bottom of base covered in felt.
So here is the final mounted sculpture! Looks fantastic! Hoping this step by step tour has helped to demystify this part of the process!
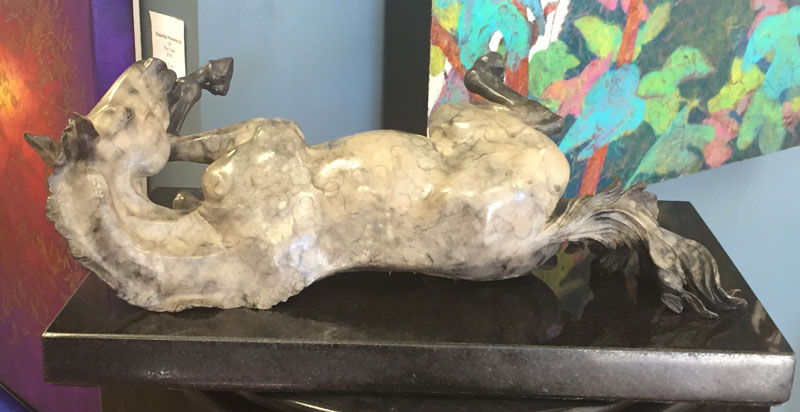
“Rolling Bliss” (#3 of 20) 6″ x 18″ x 10″ Bronze Sculpture