It seemed about time to share another work in process with you! My Acrylic Layers process lends itself especially well to step by step explanations so here are the first six steps I’ve taken so far with a new Acrylic Layers piece titled “Point to Point”. This painting is one of the largest Acrylic Layers piece I’ve worked on so far at 30″ x 30″. The surface is a 2″ deep Gesso Board.
Step 1: I prepare the gessoboard with an underpainting on the surface and the sides of a warm black I create with Mars black and Napthol Red. Once this dries, I use Caran’ D Nache crayon to draw the basic shapes of the horse and rider.

“Point to Point” Acrylic Layers In Process – Step 1
Step 2: I start the painting with simple blocking in of shapes and some shadows. I choose bright colors which I want to “sparkle” through later layers. For this piece I chose Pink and Manganese Blue!
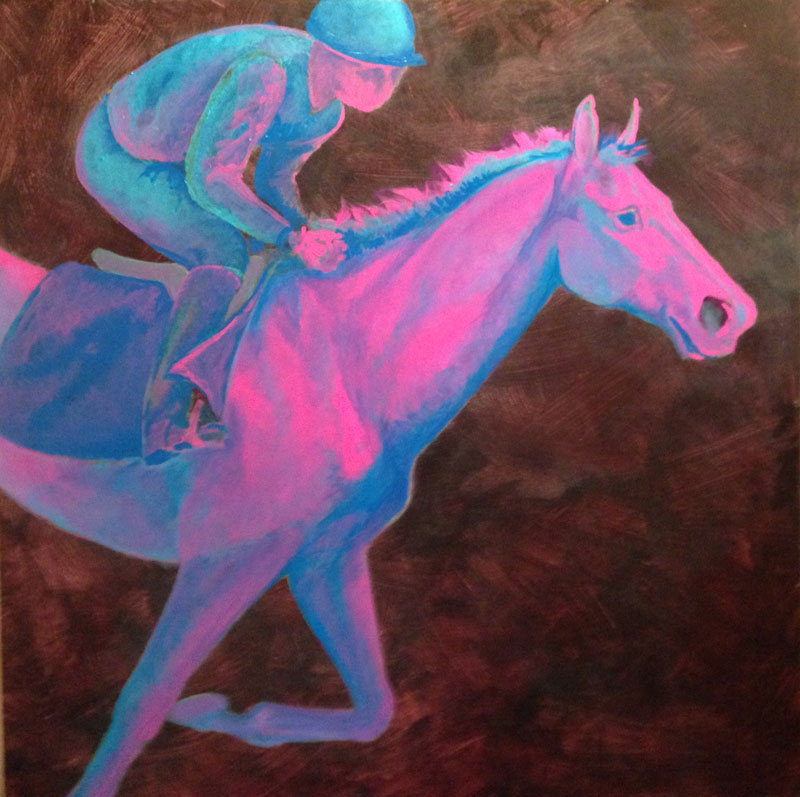
“Point to Point” Acrylic Layers In Process – Step 2
Step 3: “ICING THE CAKE” is my label for this step, however, since I’m going for texture, you may not want me icing YOUR birthday cake!!! I use Golden Acrylic Gel, in this case I’ve chosen Heavy Gel – Gloss. I like using gloss for the early layers especially since they dry clear and it allows the viewer to truly see through the layers! I apply with a palette knife to a maximum depth of 1/8″.
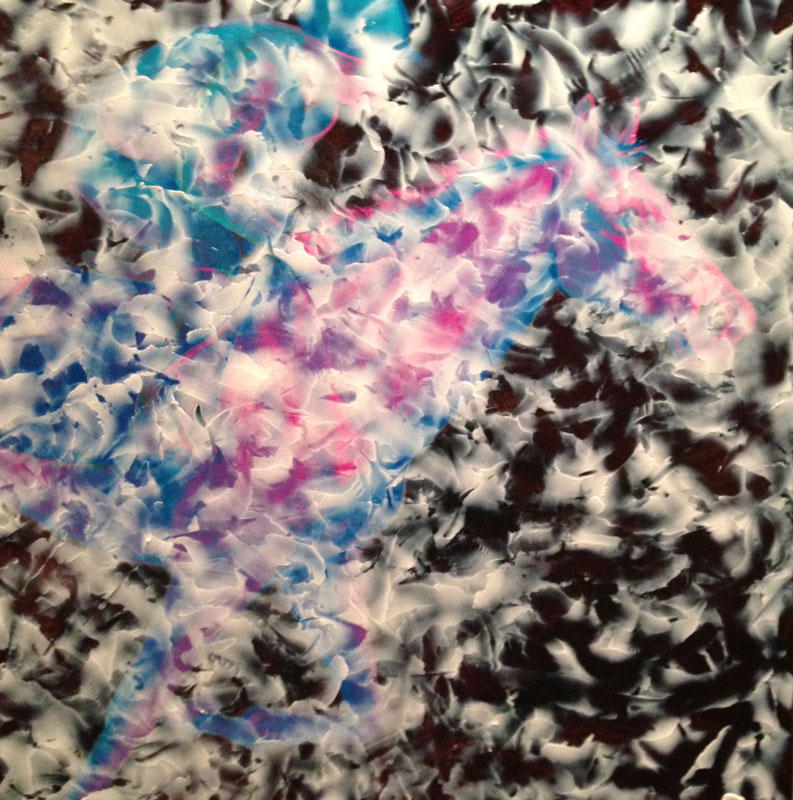
“Point to Point” Acrylic Layers In Process – Step 3
Step 4: Once the gel layer has dried clear, I apply a layer of acrylic paint to the entire surface. For this layer I chose a light green (strange? I know!). I apply the paint in thin layers working the surface to obscure MOST but not all of the image beneath. I then sand the entire painting surface to remove part of this latest paint layer from the ridges of the gel layer to expose the colors of the painted layer beneath.

“Point to Point” Acrylic Layers In Process – Step 4
Step 5: NOW WHAT???? I make the decision that the horse will be dark against a lighter background and select Quinacridone Crimson and Quinacridone Burnt Orange to tone the horse and dark portions of the rider. These are transparent pigments and I apply them as thin glazes until I achieve the desired value and intensity. I then gently sand the newly painted (allowed to dry first!) surface to retrieve the “sparkles” of the bright colors from the painted layer beneath.
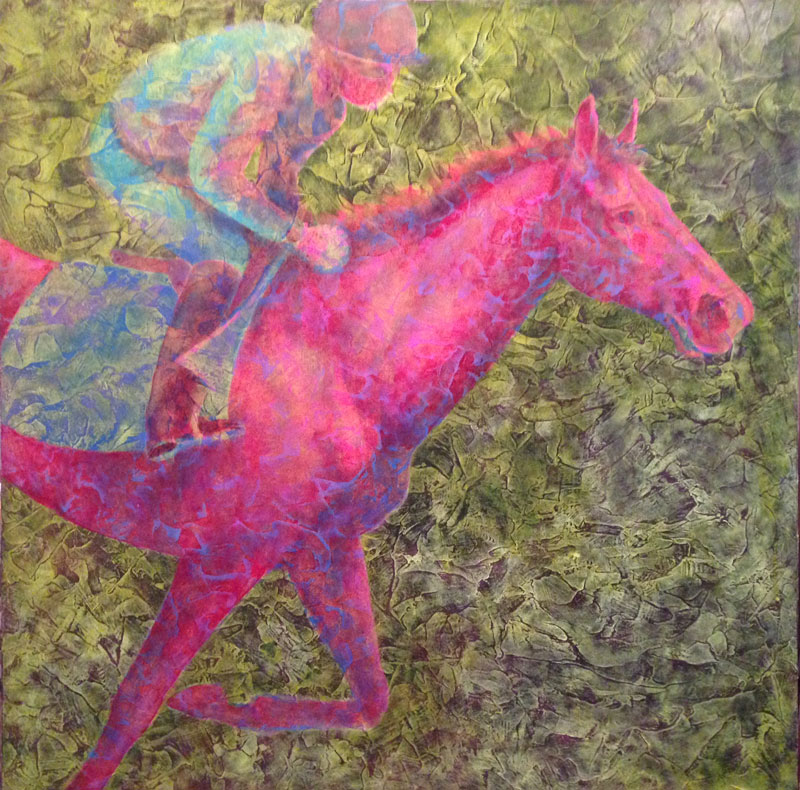
“Point to Point” Acrylic Layers In Process – Step 5
Step 6: “ICING THE CAKE” again! And so it continues!
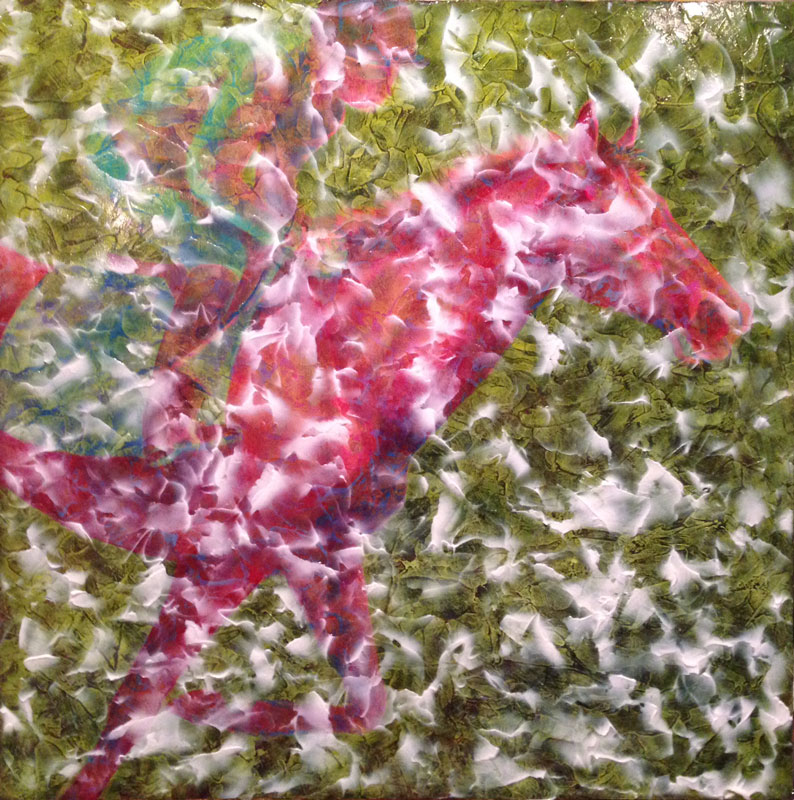
“Point to Point” Acrylic Layers In Process – Step 6