Well I promised you in my previous post, 10 Days of Painting Bliss! Work in Progress… I would post the in process images of the second Heron painting I completed while at my art retreat in Orkney Springs… So here we go! I will share 8 images so you can see the subtle changes and evolution of each layer. I think you will get the idea of why I describe it as “I paint a layer, then obscure it with gel and another layer of paint, reclaim some of the layer below, then obscure it again…” and so the process repeats itself until I’ve achieved the depth and complexity of color that sings to me and the composition is balanced and complete. Let me know what you think!
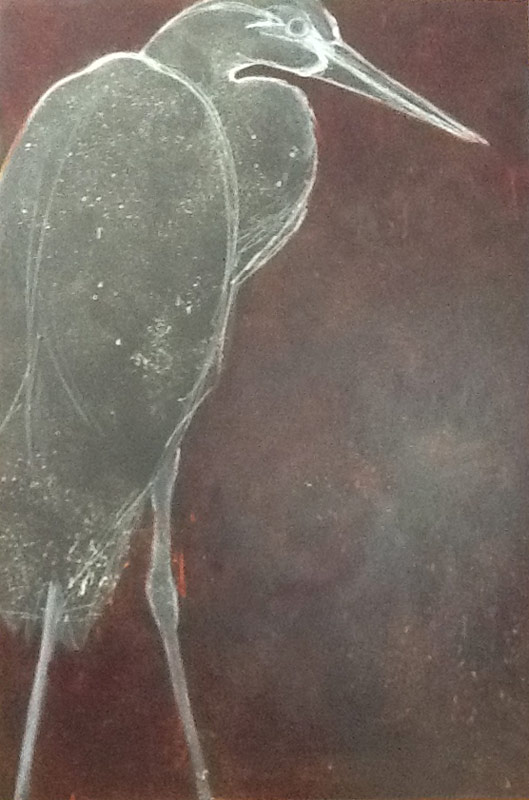
Stage 1 of “Heron II”
Dark background, drawing, and toning of negative space
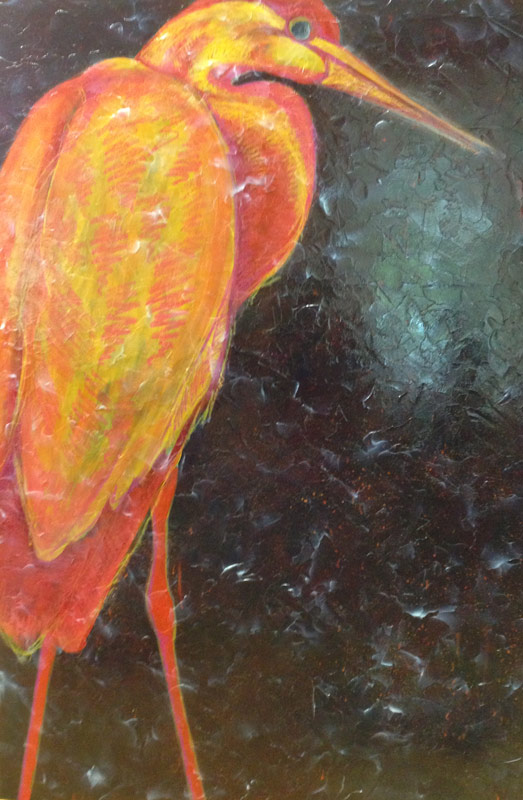
Stage 2 of “Heron II”
I use bright colors to paint the heron anticipating these will “sparkle” through later layers. Notice the cloudy spots where the first layer of gel is drying…
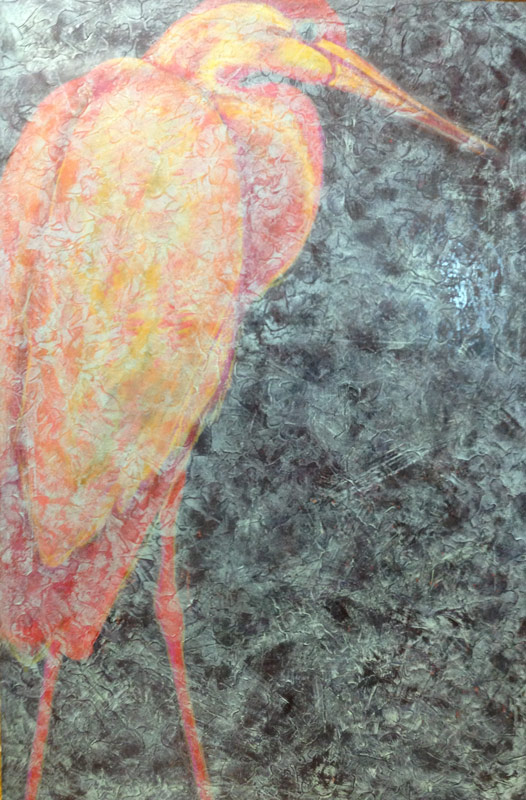
Stage 3 of “Heron II”
I’ve toned the entire painting with a lighter color and rubbed back to see the bottom layer. This helps unify the painting. I have also added another layer of gel.
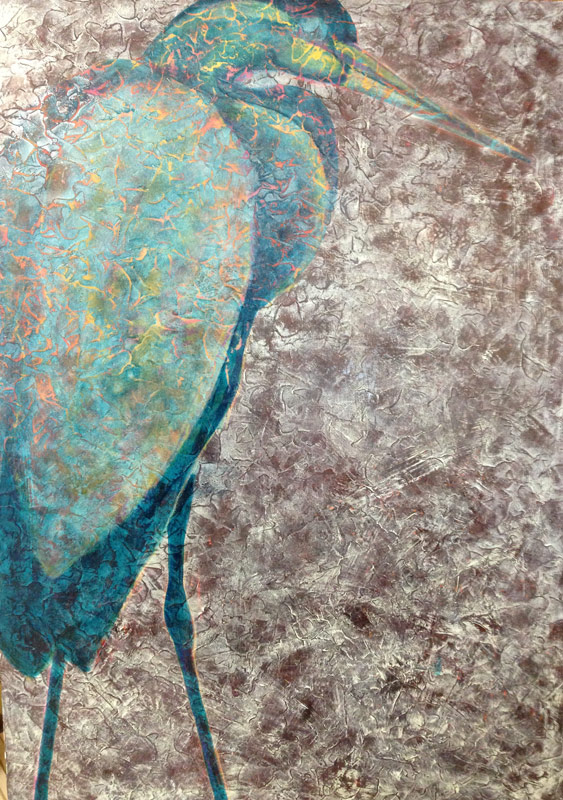
Stage 4 of “Heron II”
Now the fun really begins, thinking through the color relationships as I paint the heron with complementary colors of the lower layers. I sand back the high spots to expose the bright color sparkles beneath…
Stage 5 of “Heron II”
Now I balance the cool colors I’ve added to the heron (and scrubbed back so the oranges and pinks of the lower layer show through) with warm earth tones in the background. And another layer of gel…
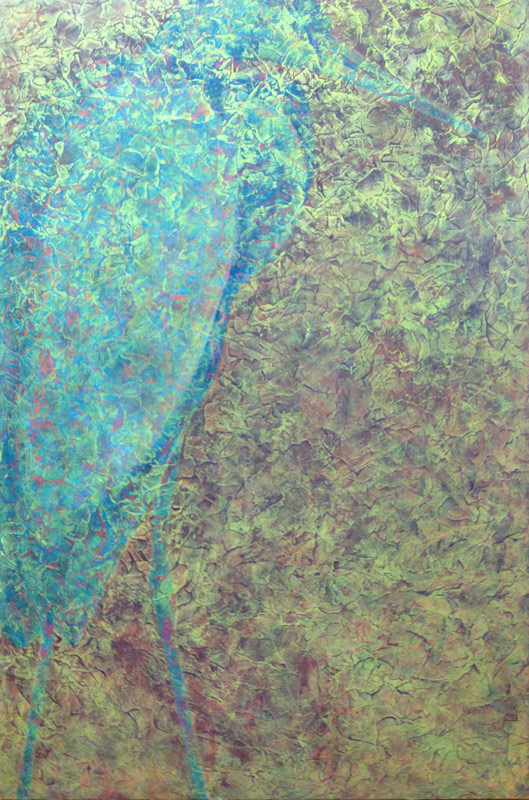
Stage 6 of “Heron II”
Uh Oh, now I’ve done it! Again! I’ve painted over the entire painting again with a unifying glaze, this time with a bright green, anticipating it sparkling through later layers! I’ve also scrubbed back to ensure lower layers still sparkle through. And another layer of gel…

Stage 7 of “Heron II”
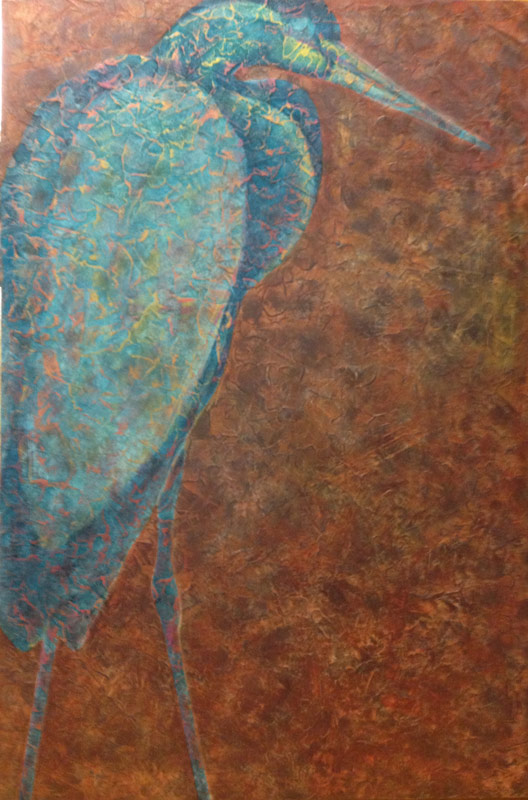
Home Stretch! I’ve added jewel tone transparent glazes to the heron and more opaque glazes to the background, switching the value relationship of subject to ground again… Looks great but not quite complete yet…

Stage 8 of “Heron II”
Ahhhh, the finishing touches make all the difference! I graded the background by removing some of the opaque to reveal the glow of earth-tones beneath, and I’ve also refined the glazes on the heron and added judicious detail to the head…
I can now declare victory on this one!
I hope you enjoyed seeing how I create these Acrylic Layer paintings, each one is an adventure and I’m never certain when I begin, exactly how it will turn out! I think that is the fun of it and what will keep me exploring this method for some time to come!
See Related Post: 10 Days of Painting Bliss! Work in Progress…